This tutorial explains how you can create helices and spirals in CADopia 18. You can use 2D spirals and 3D helices as paths to create threads, springs, and spiral stairs. For example, you can sweep a 2D entity along a helix and create threaded bolts. A 3D helix can be conical or cylindrical.
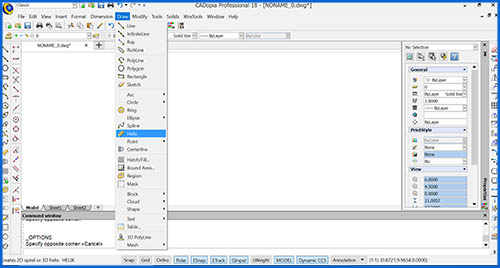
Type helix on the command line or pick helix from the classic menu under insert as shown below:

Or
Pick the helix tool from Draw toolset under the default ribbon interface as shown below.

The default settings for Helix are as follows:
Number of revolutions: 3, Direction: CCW, base radius: 1, height: 1.
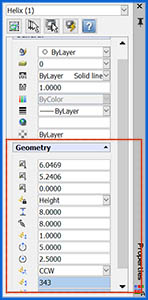
After creating the helix, you can change these values as per your requirements from the properties palette or by using entity grip points.

Specify a location for the axis and provide base radius. The axis can be inclined too.
Specify a helix start angle (default is 0 degrees from the X-axis)
Next, provide the top radius.
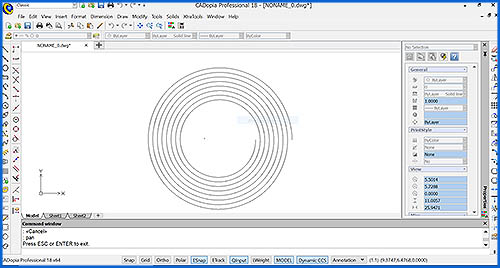
By picking the Spiral option, you can create a 2D spiral with the same parameters, height should be 0 for a spiral.

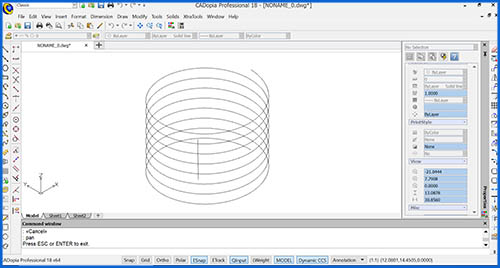
For a cylindrical helix, use the same value for base radius and top radius as shown below:

You have the option of specifying the number of revolutions and pitch instead of height.
