In this tutorial, you will you will learn about drawing patterns using CADopia 16.
This tutorial gives a step-by-step solution for beginners. The tutorial covers the usage of Pattern, Power Trim, and Offset tools.
Before creating Pattern features, draw the sketch:
- Select the Circle tool.
- Click to define the start point.
- Move the cursor upto some distance and enter 5 as radius of the circle.
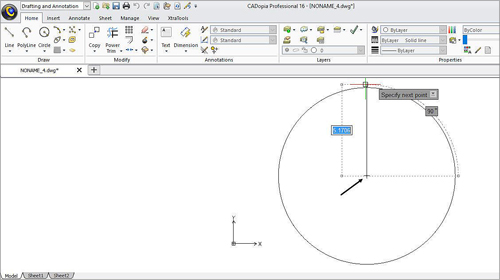
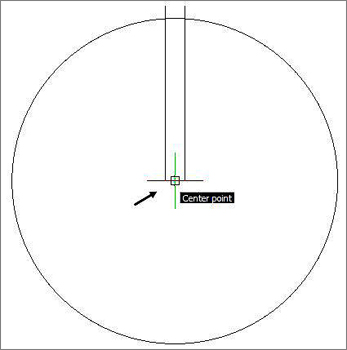
- Select the Line tool.
- Click on the center of the circle to define it start point.
- Select the Ortho button and move the cursor upwards and click to draw a line entity.
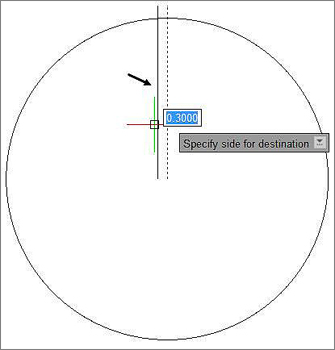
- Select the Offset tool.
- Enter .3 as the offset distance.
- Select the line entity.
- Move the cursor towards left and click to place the offset entity created.
- Again select the line entity and place the offset entity on its right.
- Select the Delete tool.
- Select the line entity to be remove.
- Right-click to remove it.
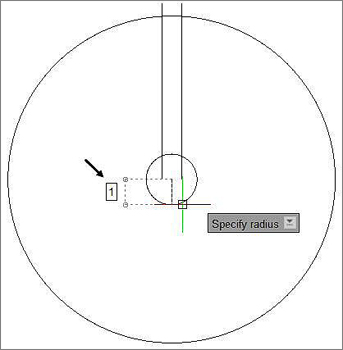
- Select the Circle tool.
- Click on the center of the previous circle entity.
- Enter 1 for the radius of the circle entity.
- Similarly create another circle entity of radius 2.
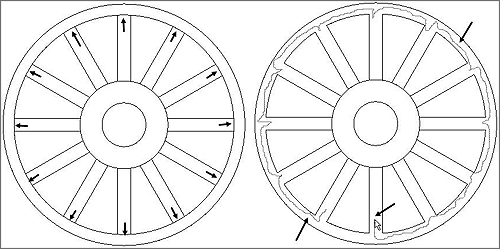
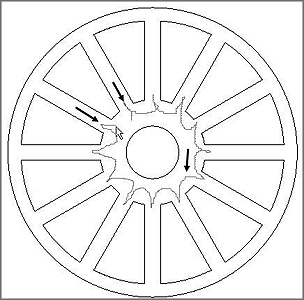
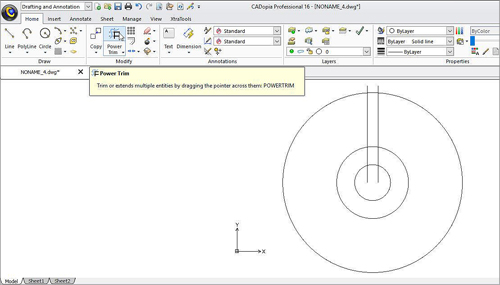
- Now select the Power Trim tool.
- Click and drag the cursor over the unwanted portion of the line entities to be removed.
- Similarly remove another entities.
- Select the Offset tool and enter .5 as offset distance.
- Select the circle entity as source entity.
- Move the cursor towards right and place the offset entity created.
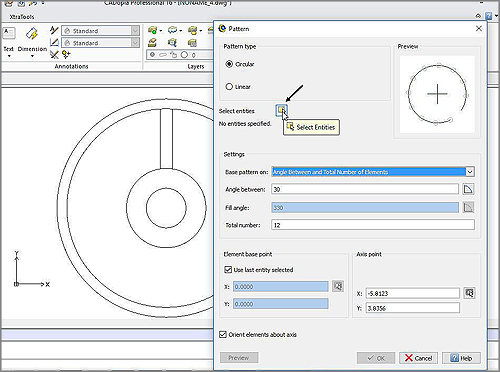
- Select the Pattern tool.
- Click on the Select Entities button from the Pattern dialog box.
- Select the line entities.
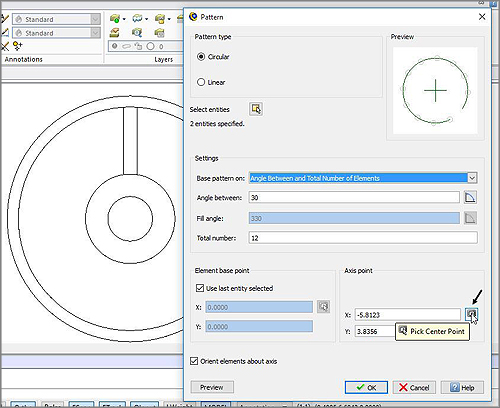
- Now click on the Pick Center Point of the dash board.
- Click on the center point of the circle entity.
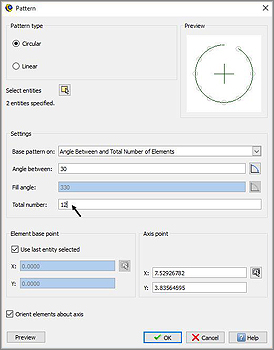
- Enter 12 as the number of pattern elements.
- Click on the OK button.
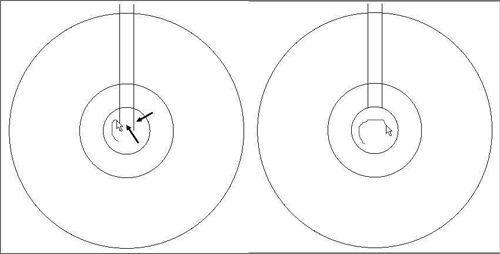
- Select the Power Trim tool.
- Click and drag the cursor over the unwanted portion of entities.
- Similarly drag the cursor over other unwanted portion of entities.
You can also trim them one by one by moving cursor over each unwanted entities separately.